 masalladelcloud
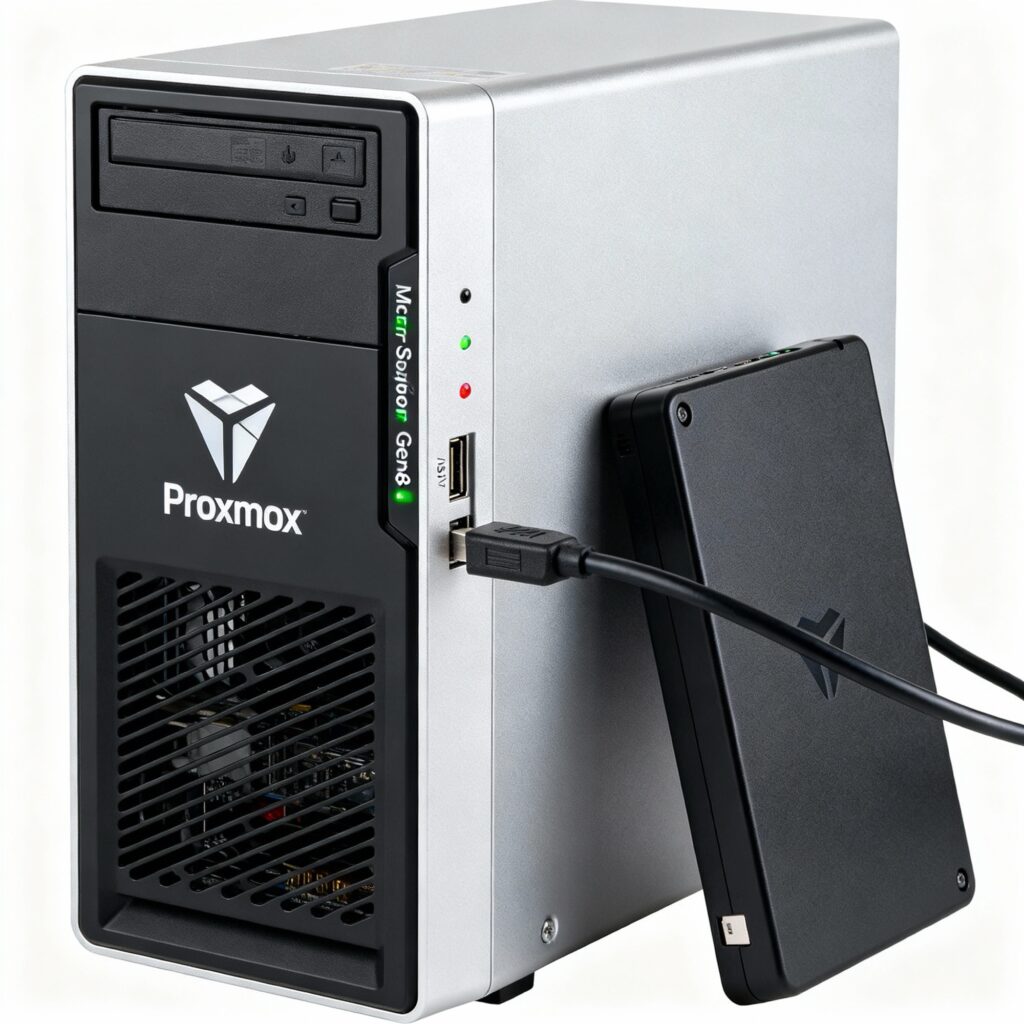
Before we dive in, let’s talk about the advantages. An external USB drive offers absolute portability. If your main server fails, you can take the drive to another Proxmox machine and restore everything from there. Additionally, it is an economical solution compared to NAS systems or network storage, especially for small environments like our Homelab.
Network independence is another key point. Your backups don’t depend on network connectivity, which reduces points of failure. And if you need offline backups, you simply disconnect the drive and keep it in a safe place.
Before Starting
For this process, you will need:
- A USB drive with sufficient capacity for your VMs and containers, for example: WD 4TB
- SSH access or shell console to your Proxmox server
- Administrator privileges
- Patience (always useful)
Important: Once you connect the USB drive to a specific port, it is recommended not to change the port without reconfiguring the mount.
Step 1: Connect and Recognize the Drive
There are several ways to recognize a drive via the command line through SSH.
lsblk
Or:
fdisk -l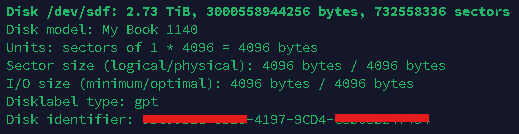
Step 2: Create the Mount Folder
To display the contents of the drive, we must first create a mount folder. This folder can be created in our system to then mount the drive inside it.
mkdir /mnt/usb3tbNow, we just need to mount the drive in the folder we just created.
We will use the mount command followed by the disk path, in this case /dev/sdf1, and then the mount point path, in our case /mnt/usb3tb.
mount /dev/sdf1 /mnt/usb3tbTroubleshooting and Technical Considerations
Write permissions during backup
Proxmox (vzdump) executes backups as the root user. Ensure the mount point (/mnt/usb-backup) has the correct permissions (chmod 755 and chown root:root).
Thermal wear on portable drives Small external drives (2.5”) are not designed for constant I/O. Doing a massive 500GB backup sequentially can overheat the drive and disconnect it from the USB bus. Schedule your backups in a staggered manner.
Perfect. With this, we have our external USB hard drive mounted. Quick, easy, and simple. And as I always like to say: If this post has helped you, share it with other administrators who can benefit. And follow me for more real experiences from the homelab trenches.