 masalladelcloud
We want to disable the swap partition in Proxmox LXC containers. By disabling this, we ensure the system isn’t constantly performing read/write operations on the NVMe installation disk, which has a limited number of write cycles, thus forcing the use of RAM.
These changes can be made on the fly. We are using Proxmox VE version 9.
Step 1: Check SWAP Usage Status
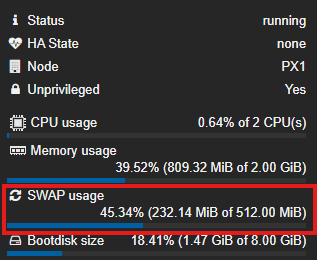
Inside the LXC container, go to the “Summary” section. You will see “SWAP usage”; in this case, it’s using 45% of the assigned swap.
Step 2: Set Swap Values to 0
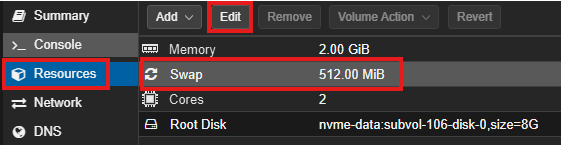
It’s as simple as going to “Resources”, selecting “Swap”, and clicking the “Edit” button to modify the swap parameter.
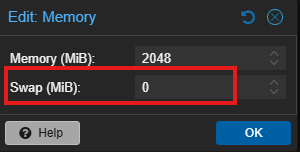
In the “Memory” editor, change “Swap (MiB)” from 512 to 0. Click OK.
Step 3: Verify Changes from Summary
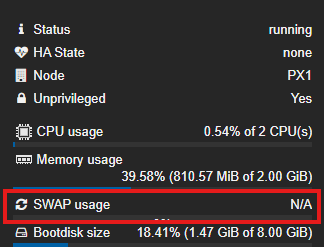
Now you will see that “SWAP usage” shows N/A, which means no space has been assigned to this partition.
Manual Method (via Configuration Files)
This option is slightly more involved and requires using basic commands to reach the path where LXC container configuration files are stored.
A downside of this method is that you must first shut down the LXC container to remove the swap line from the configuration file.
Step 1: Access LXC Configuration
Open a session on your Proxmox node and navigate to the directory where container configurations are stored:
cd /etc/pve/lxcStep 2: Stop the Container
To edit the configuration, you must first stop the container:
pct stop <CONTAINER_ID>Step 3: Remove the Swap Line
Open the container’s configuration file with your favorite editor (e.g., nano):
nano <CONTAINER_ID>.confLocate the line starting with swap:
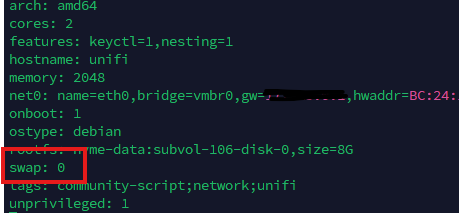
Delete it completely. Save and close the file.
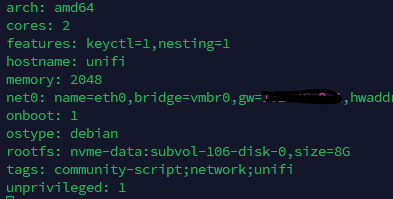
Step 4: Start the Container
Once the swap reference is removed, start the container again:
pct start <CONTAINER_ID>Finally, and no less important, disable swap on the physical machine where Proxmox VE is installed:
swapoff /dev/pve/swapResult in the Proxmox Panel
In the container’s Summary view, you will still see the Swap Usage section, but its value will always stay at zero. This way, you force the system to use only RAM and avoid continuous writes to the SSD, thus prolonging its durability.
With these simple steps, you will have disabled the swap partition in your Proxmox VE 9 LXC containers, optimizing your NVMe performance and reducing wear on your storage.
Troubleshooting and Technical Considerations
OOM Killer (Out Of Memory) If you disable Swap completely and the container exhausts its allocated RAM, the Linux kernel will invoke the OOM Killer, terminating processes (like MySQL or Java) abruptly. Make sure to allocate enough physical RAM before removing the swap lifeline.
Impact on ZFS ZFS already subjects SSDs to high wear (Write Amplification). Adding constant paging operations (Swap) from 10 different containers will drastically reduce your NVMe’s lifespan. Removing swap is almost mandatory in flash-only ZFS setups.
If this post has helped you avoid the same mistakes I made, share it with other administrators who can benefit. And follow me for more real experiences from the homelab trenches.