 masalladelcloud
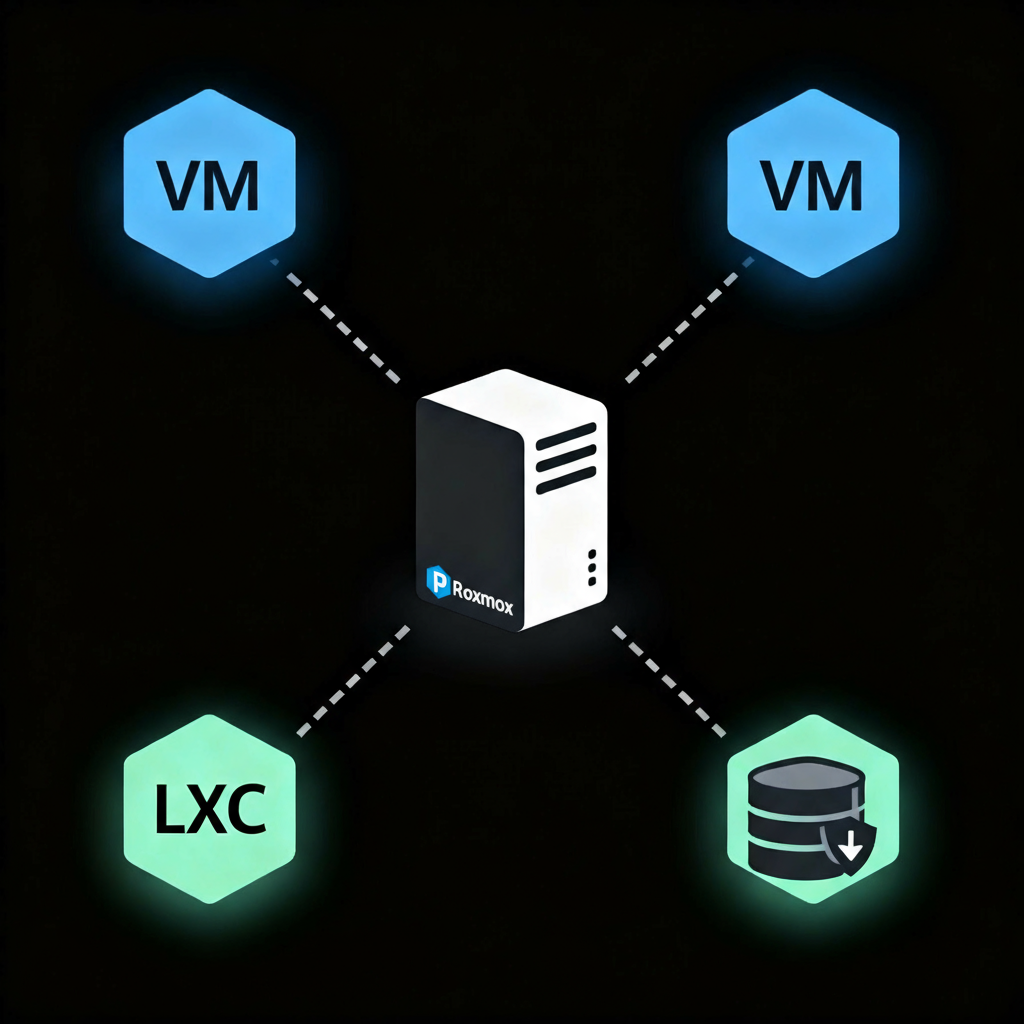
I have tinkered with Proxmox Backup Server, Veeam backup, and other backup systems, but I honestly believe there is a simpler way to have backups of our virtual machines (VM or QM) and LXC containers. Those mentioned systems require a dedicated machine, more resource usage, money, and RAM.
To perform our backups, we are going to use the backup tool already included in our Proxmox VE.
To do this, go to the Datacenter section and select backups.
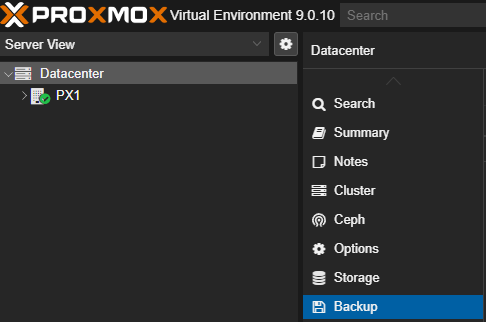
In this section, it’s as simple as clicking the “Add” button to add a new schedule for creating a Backup Job.
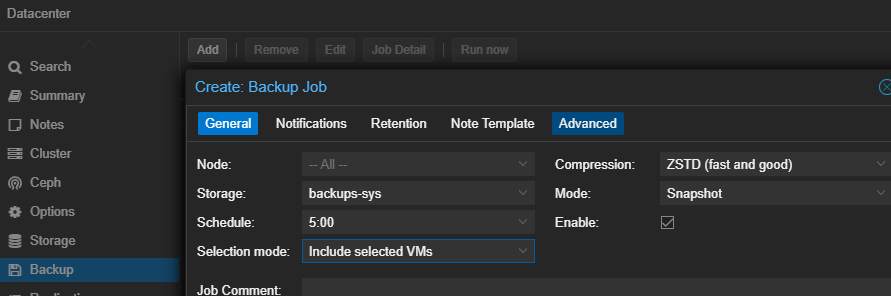
In the “General” tab, we can select the node, storage, and the schedule for the backups.
Let’s go step by step explaining each option:
- Node: This will be the node we want to backup. We can select one node, or if we leave it empty, it will backup all nodes.
- Storage: Here we will set the destination disk. If it doesn’t appear or you don’t know how to configure it, visit this blog post “Add USB Disk for Backups” where it’s explained in detail.
- Schedule: 5:00 AM is a good time since it’s rare for the server to have a high load.
- Selection mode: In this case, I like to select the machines to backup manually. However, they can all be selected automatically, so when a new one is included, you won’t have to add it to the backup task.
- Compression: ZSTD
- Mode: Snapshot
- Enable: This checkbox, if checked, will enable this task. If unchecked, it will not be enabled.
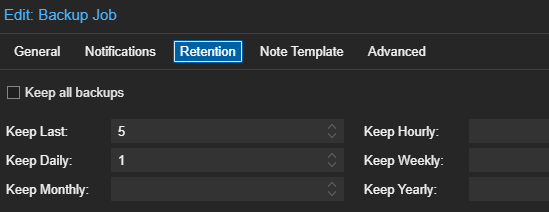
Retention depends on the capacity of our backup disk and how much historical backup data we want to keep. In this case, we’re going to set a “keep last” of 5 days and “keep daily” of 1, so it keeps a daily backup of only the last 5 days. With this configuration, once a new backup is made, it will delete the sixth oldest.
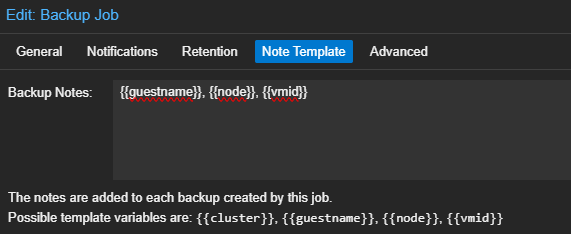
For the last tab, “Note template”, I like to put {{guestname}}, {{node}}, {{vmid}} so it tells us the name of the machine, the node from which it was copied, and its ID. This small detail helps a lot when identifying backups to recover via command line if needed. Believe me, it’s needed.
Troubleshooting and Technical Considerations
Very slow backups or Storage saturation ZSTD is very fast, but if you limit the backup bandwidth in the global Proxmox config (Datacenter -> Bandwidth Limits), the process will take forever. Ensure you aren’t artificially capping local I/O.
Containers failing to snapshot (Snapshot mode) “Snapshot” mode allows hot backups without shutting down the VM/LXC. However, in LXC containers with nested file systems (e.g., Docker inside LXC using OverlayFS), the LVM or ZFS snapshot can fail. In those cases, you must use “Stop” mode or exclude directories.
With this, we have configured our backup. Quick, easy, and simple. And as I always like to say: If this post has helped you, share it with other administrators who can benefit. And follow me for more real experiences from the homelab trenches.