 masalladelcloud
This blog post was born because my physical server with Proxmox VE 9 started to fail due to a wrong command I executed… Yes, it was me who broke it. In the end, it was easier to reinstall everything from scratch with a clean installation than to waste hours trying to repair the operating system.
As I always like to say, before any task or change, you must make backups, whether manual or scheduled. In this blog post “Automate Your Proxmox Backups: Definitive Guide for VMs and LXCs”, I leave you a detailed and quick guide to configure an automatic backup of all your Proxmox machines, whether they are LXC containers or virtual machines.
With all that said, let’s start with the steps for a quick recovery from our new installation.
Step 1: Mount the Backup Disk
Mount the external hard drive in Proxmox to access the backup data. If you need a refresher on how to mount it, visit the post “How to Configure Persistent USB Auto-Mount in Proxmox”.
Step 2: Access the Proxmox CLI
Navigate to the path of the hard drive containing the backups. Inside the drive, we need to go to the “dump” folder:
cd /mnt/disk_name/dumpOnce inside our disk, we will list all the backup files to see which version we want to recover.
You will see something similar to this:

Of the three files each backup has, we only need the one ending in .zst.
Step 3: Restore LXC Containers
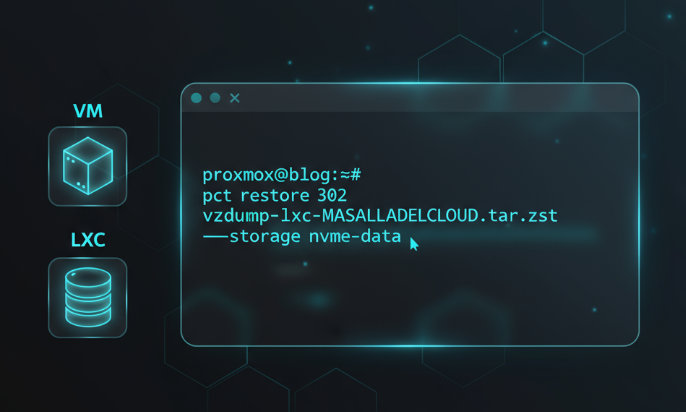
To restore Proxmox LXC containers, we must use the following command. It needs to be modified according to your system:
pct restore ID backup_name.tar.zst --storage destination_diskWhere it says ID, you must put the ID you want it to be restored with. My advice is to use the same ID that appears in the saved backup.
For example, if the backup name is vzdump-lxc-102-2025_09_26-04_11_32.tar.zst, the command would look like this:
pct restore 102 vzdump-lxc-303-2025_09_26-04_11_32.tar.zst --storage nvme-dataIn my case, the ID will be 102, then the backup name, then --storage and the disk, in my case nvme-data.
Restoration will begin and, voila! Your container will be restored.
Step 4: Restore Virtual Machines (VM)
The procedure is the same, but the command starts with qmrestore instead of pct. Note that the ID is placed after the backup name.
qmrestore vzdump-qemu-ID-date.vma ID --storage destination_diskAgain, where it says ID, put the ID you want for this VM. Then the backup name and finally the disk where you want to restore it.
Real example:
qmrestore vzdump-qemu-201-2025_10_01-04_15_16.vma.zst 100 --storage nvme-dataTroubleshooting and Technical Considerations
The qm stop or pct stop command hangs
If the Proxmox management command itself freezes, the underlying host process (qemu-kvm or lxc) is experiencing an “Uninterruptible Sleep” (D-state) likely due to an I/O storage failure. You must find the PID with ps aux | grep <ID> and use kill -9.
“Locked” state after a failed backup
This is the most common scenario. Proxmox locks the resource to prevent corruption during vzdump. If the backup is abruptly canceled, the lock isn’t released. Using qm unlock <ID> is completely safe if you confirm the backup process is no longer running.
With these steps, you now have the knowledge to restore LXC containers and QEMU virtual machines on a fresh or existing installation. And as is customary to say: If this post has helped you, share it with other administrators who can benefit. And follow me for more real experiences from the homelab trenches.